AI 摘要
生成中...
前段时间在 Bilibili 上学习 JavaScript,通过使用 Hypothesis 来整理学习笔记,使用体验非常好。只是 Hypothesis 的界面不是很整洁,我通过 Chrome 扩展 My Style 和 油猴脚本 做了一些优化。
图片中的编码字体,建议替换为其他免费开源的编程字体。
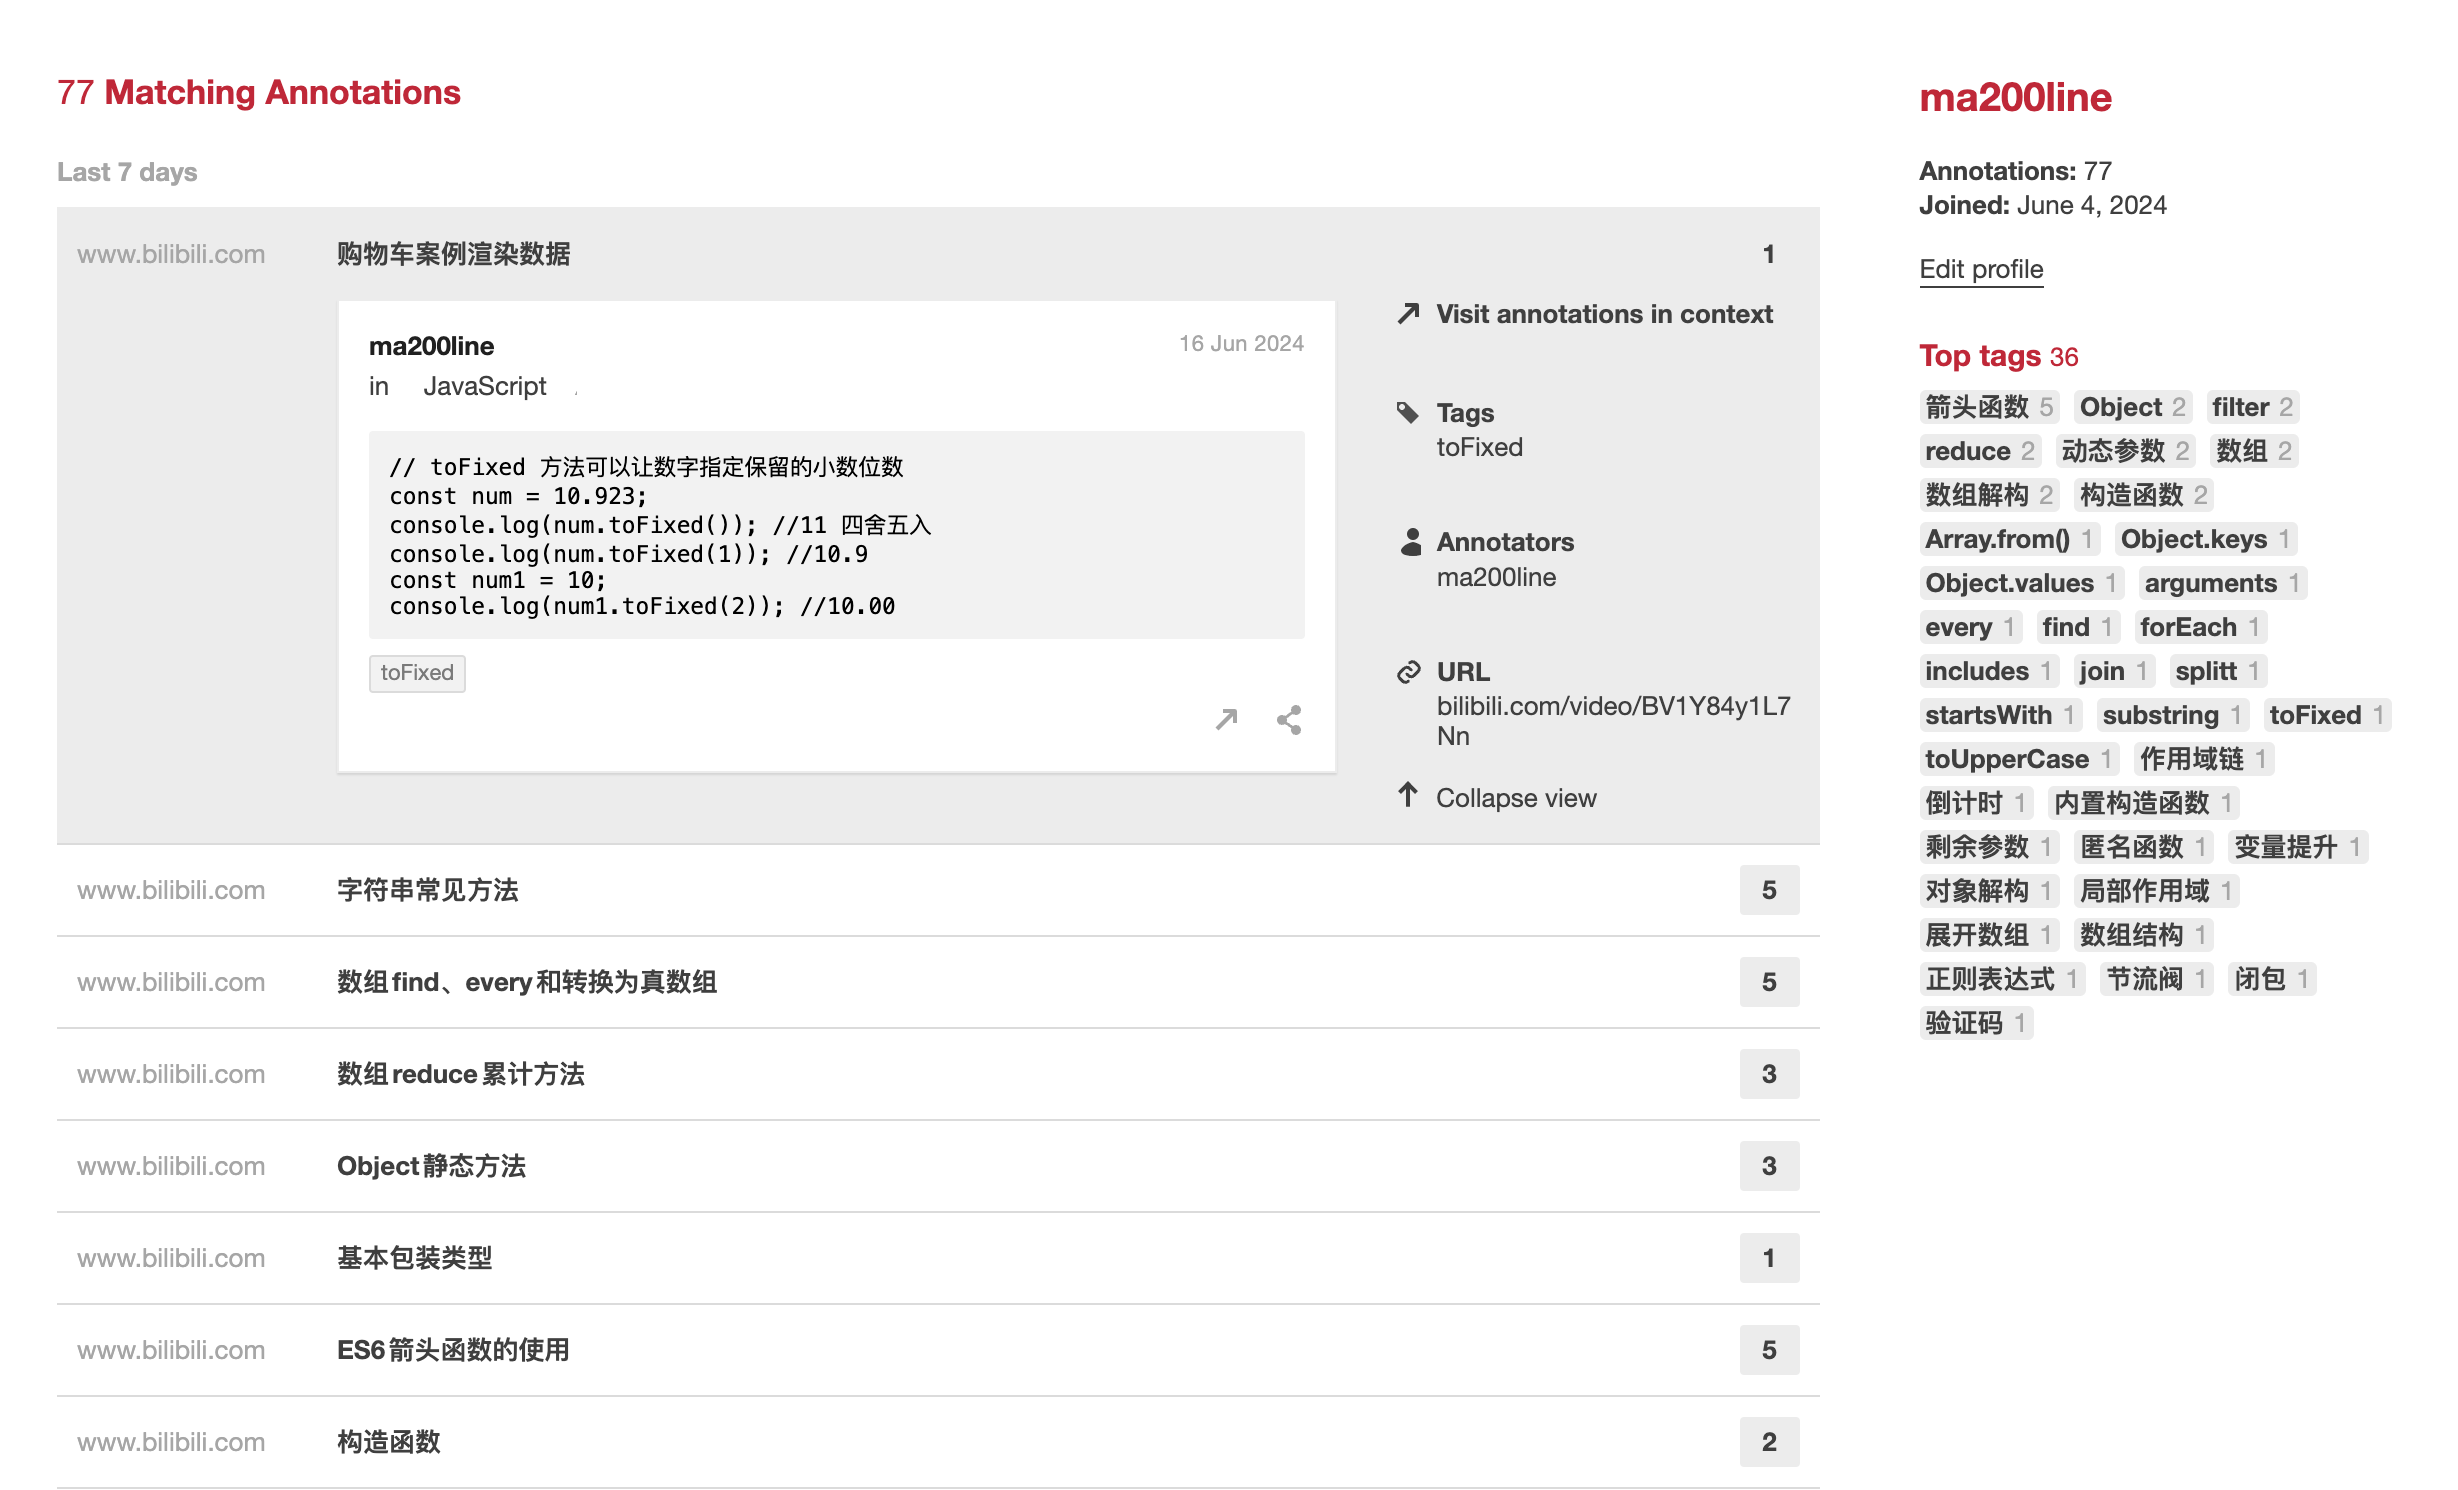
优化前的界面
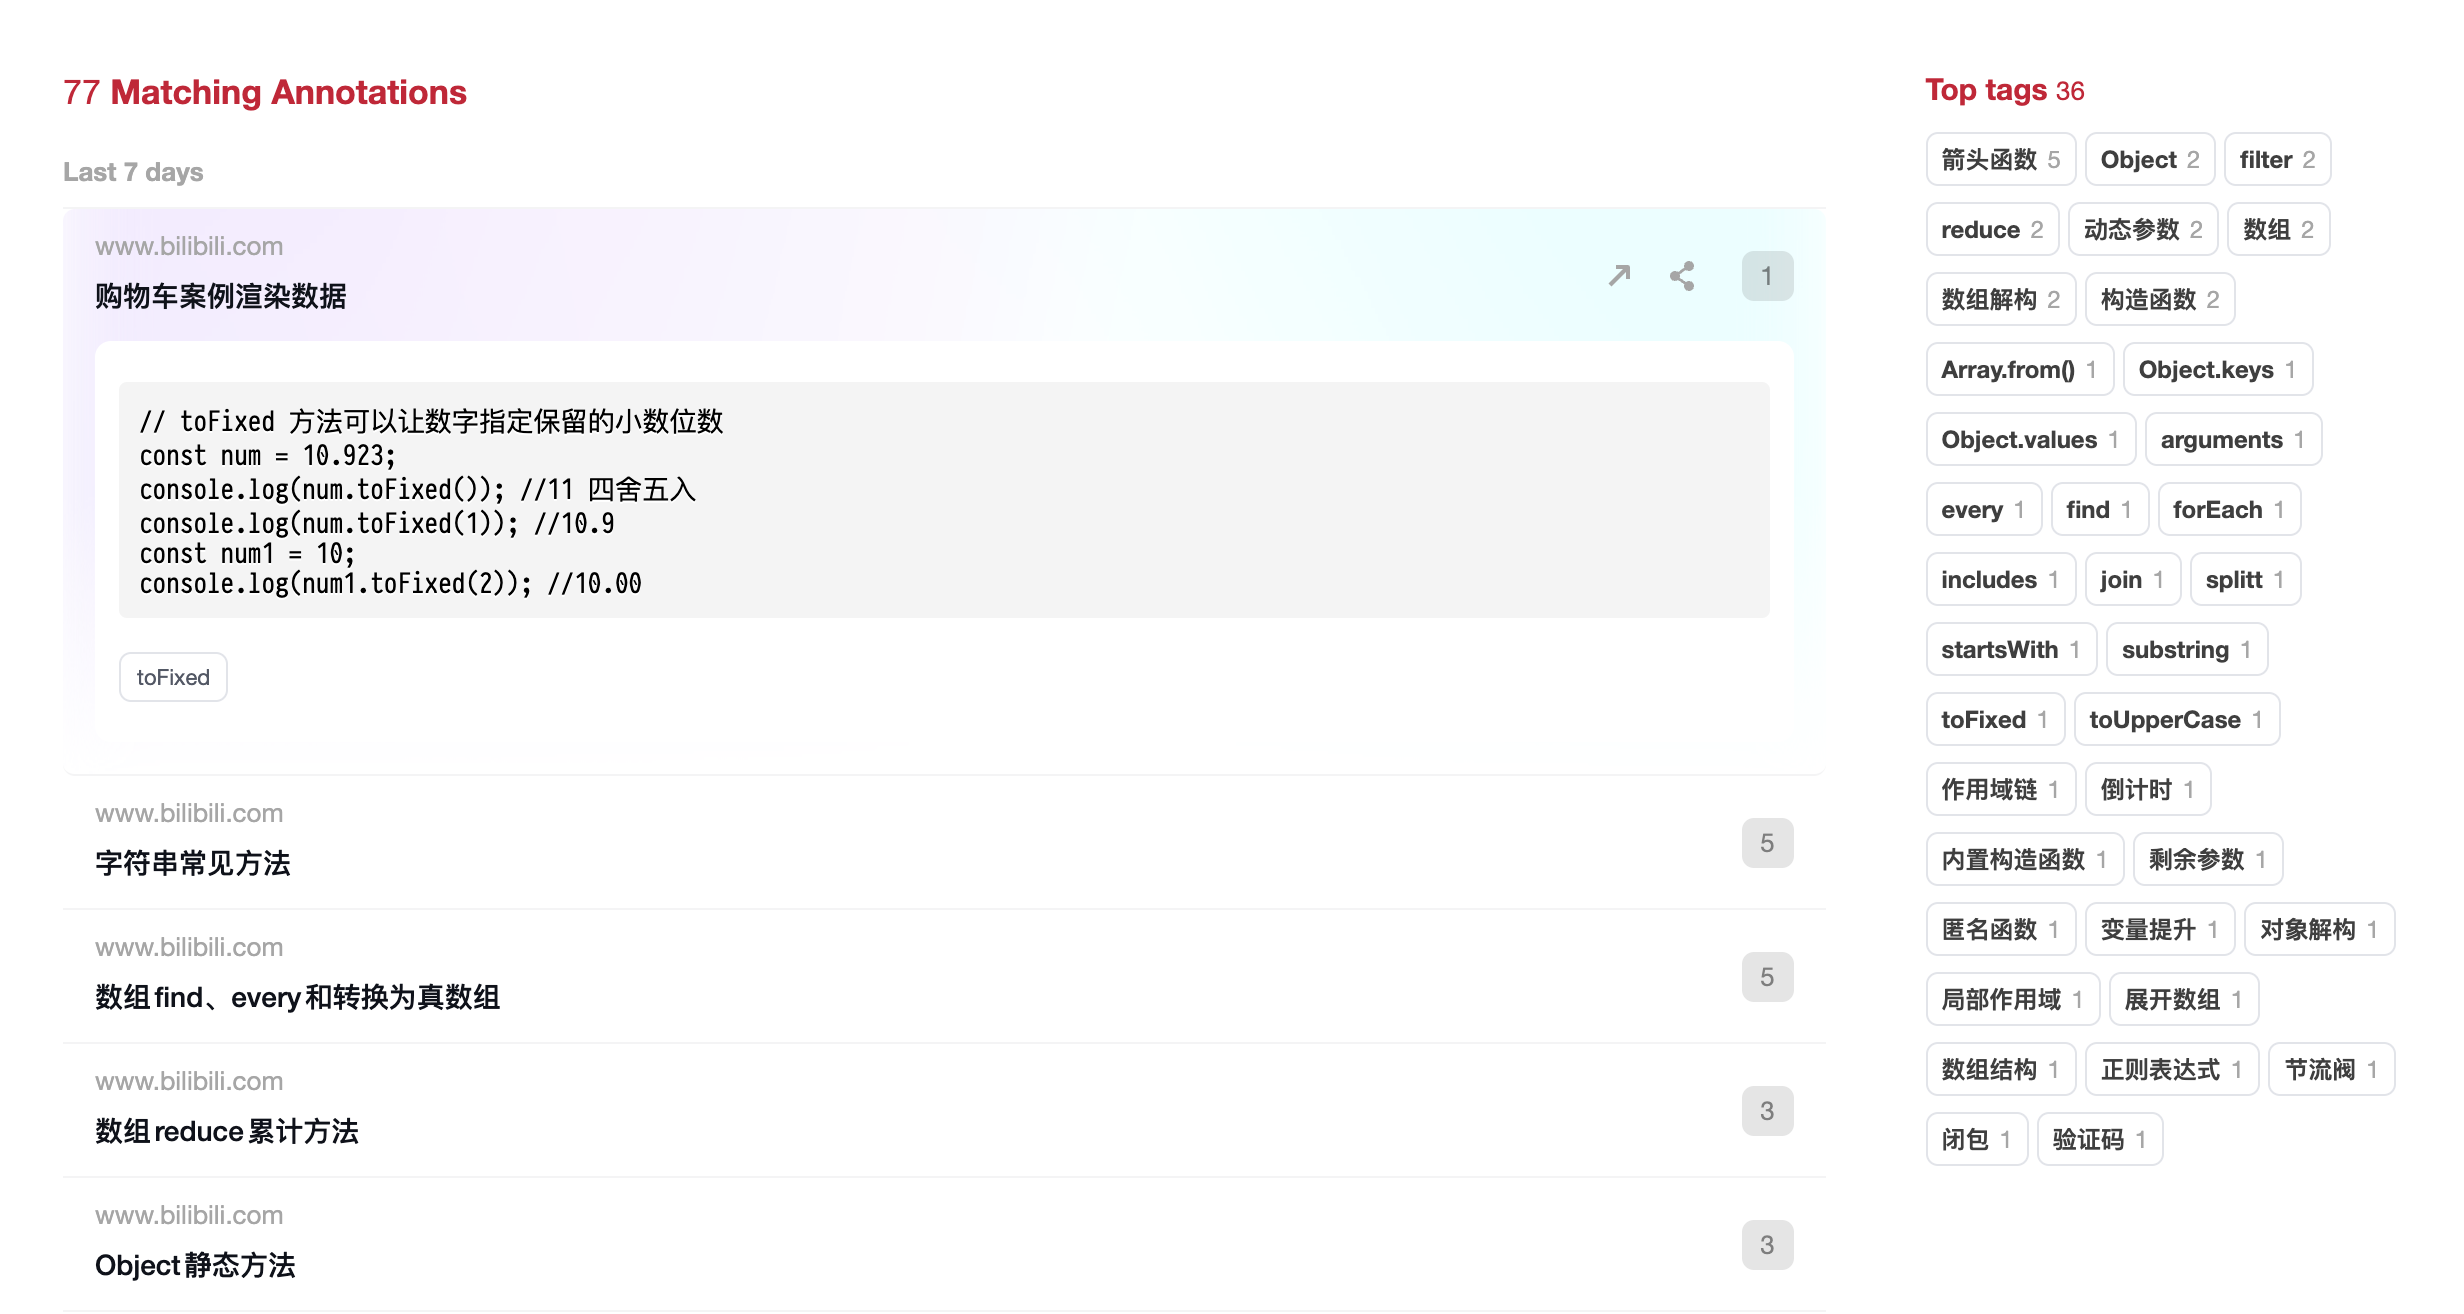
优化后的界面
My Style
安装完 My Style 后,按 Control + M 调出 CSS 设置界面,复制下面的 CSS 代码,粘贴进去,再按一次刚才的快捷键关闭即可。
油猴脚本
对于页面上大量的重复干扰文字,通过下面的油猴脚本来隐藏对应的文字,让界面更干净一些。
安装完油猴脚本后,添加新脚本,粘贴下方的代码后启用该脚本。在页面右下角打开隐藏文本设置,在输入框中输入用来隐藏特定内容,支持正则式匹配,支持换行输入多个需要隐藏的内容。
// ==UserScript==
// @name         Custom Hide Specific Text
// @namespace    http://tampermonkey.net/
// @version      1.0
// @description  允许用户使用正则式从页面元素中隐藏特定文本和前缀,并使用localStorage持久化设置。
// @author       ma200line
// @match        https://hypothes.is/*
// @grant        none
// ==/UserScript==

;(function () {
  'use strict'

  const localStorageKey = 'hiddenTexts'

  // 隐藏特定文本的功能
  function hideSpecificText() {
    const hiddenTexts = JSON.parse(localStorage.getItem(localStorageKey)) || []
    const elements = document.querySelectorAll('.search-result-bucket__title')

    elements.forEach((element) => {
      let text = element.textContent
      hiddenTexts.forEach((targetText) => {
        const regex = new RegExp(targetText, 'g')
        text = text.replace(regex, '')
      })
      element.textContent = text
    })
  }

  // 创建设置UI的功能
  function createSettingsUI() {
    const container = document.createElement('div')
    container.style.position = 'fixed'
    container.style.top = '10px'
    container.style.right = '10px'
    container.style.backgroundColor = 'white'
    container.style.border = '1px solid black'
    container.style.padding = '10px'
    container.style.zIndex = 9999

    const buttonContainer = document.createElement('div')
    buttonContainer.style.display = 'flex'
    buttonContainer.style.justifyContent = 'space-between'
    buttonContainer.style.marginBottom = '10px'

    const saveButton = document.createElement('button')
    saveButton.textContent = '保存'

    const closeButton = document.createElement('button')
    closeButton.textContent = '关闭'

    closeButton.onclick = () => {
      document.body.removeChild(container)
    }

    saveButton.onclick = () => {
      const texts = textarea.value
        .split('\n')
        .map((text) => text.trim())
        .filter((text) => text.length > 0)
      localStorage.setItem(localStorageKey, JSON.stringify(texts))
      alert('保存成功,刷新页面以应用更改。')
    }

    buttonContainer.appendChild(saveButton)
    buttonContainer.appendChild(closeButton)

    const textarea = document.createElement('textarea')
    textarea.style.width = '300px'
    textarea.style.height = '100px'
    textarea.placeholder = '输入文本或正则表达式来隐藏,换行隔开'

    container.appendChild(textarea)
    container.appendChild(buttonContainer)
    document.body.appendChild(container)

    // 加载现有设置
    const existingTexts = JSON.parse(localStorage.getItem(localStorageKey)) || []
    textarea.value = existingTexts.join('\n')
  }

  // 添加一个按钮打开设置UI
  function addSettingsButton() {
    const button = document.createElement('button')
    button.textContent = '隐藏文本设置'
    button.style.position = 'fixed'
    button.style.bottom = '10px'
    button.style.right = '10px'
    button.style.zIndex = 9999
    button.style.height = '28px' // 设置按钮高度为28px

    button.onclick = createSettingsUI
    document.body.appendChild(button)
  }

  // 在页面加载完成后运行脚本
  window.addEventListener('load', () => {
    hideSpecificText()
    addSettingsButton()
  })
})()正则式参考
_哔哩哔哩_bilibili JS进阶-day\d-\d{3}- APIs-day\d-\d{3}- 今日综合案例- 综合案例-这样修改完,整体页面就清爽多了。